To those new developers and software engineers who want to get their name out there in a trendy way and learning important principles as they do, here is what worked for me.
Introduction
As a software engineer I feel it quite important to have a portfolio available to be inspected. After reading several software development articles on Medium, I've seen that almost every writer has their own personal site showcasing their work. It's how the industry works these days so we might as well showcase our stuff first!
To start, much of my motivation in creating my portfolio came from this article titled How to land a top-notch tech internship — and a tech job — while you’re still in school. I strongly reccomend looking over it. The most important section of this article to me was having projects to show future employers, demonstrating what you know and what you excel at.
Whether you are brand new to development, studying Computer Science in University, or even just having fun with it as a hobby, you are a developer. You excel at some things, even if you feel like you have barely scratched the surface.
(Fun Fact: You will always feel that way.)
That being said, if you have no current projects, creating a website is a great first one! Building the framework now for a showcase provides the foundation to add more in the future with ease.
Overview
In this article, I will guide you through setting up your own personal website, by using technologies such as Git with GitHub, Jekyll, and Netlify. By using these free technologies, we will even learn the basics of Continuous Integration and Continuous Deployment. (However, we will be barely scratching the surface of CI/CD. I highly recommend some more reading regarding this important practice.)
In order, we will accomplish the following:
- Create a local Jekyll website.
- Deploy our website to Netlify.
- Integrate our website with GitHub and Netlify to enable Continuous Integration.
- Bind your very own domain to your newly created site.
- Reap the benefits.
This guide assumes some basic development knowledge, including HTML, and Git.
Let's make this website!
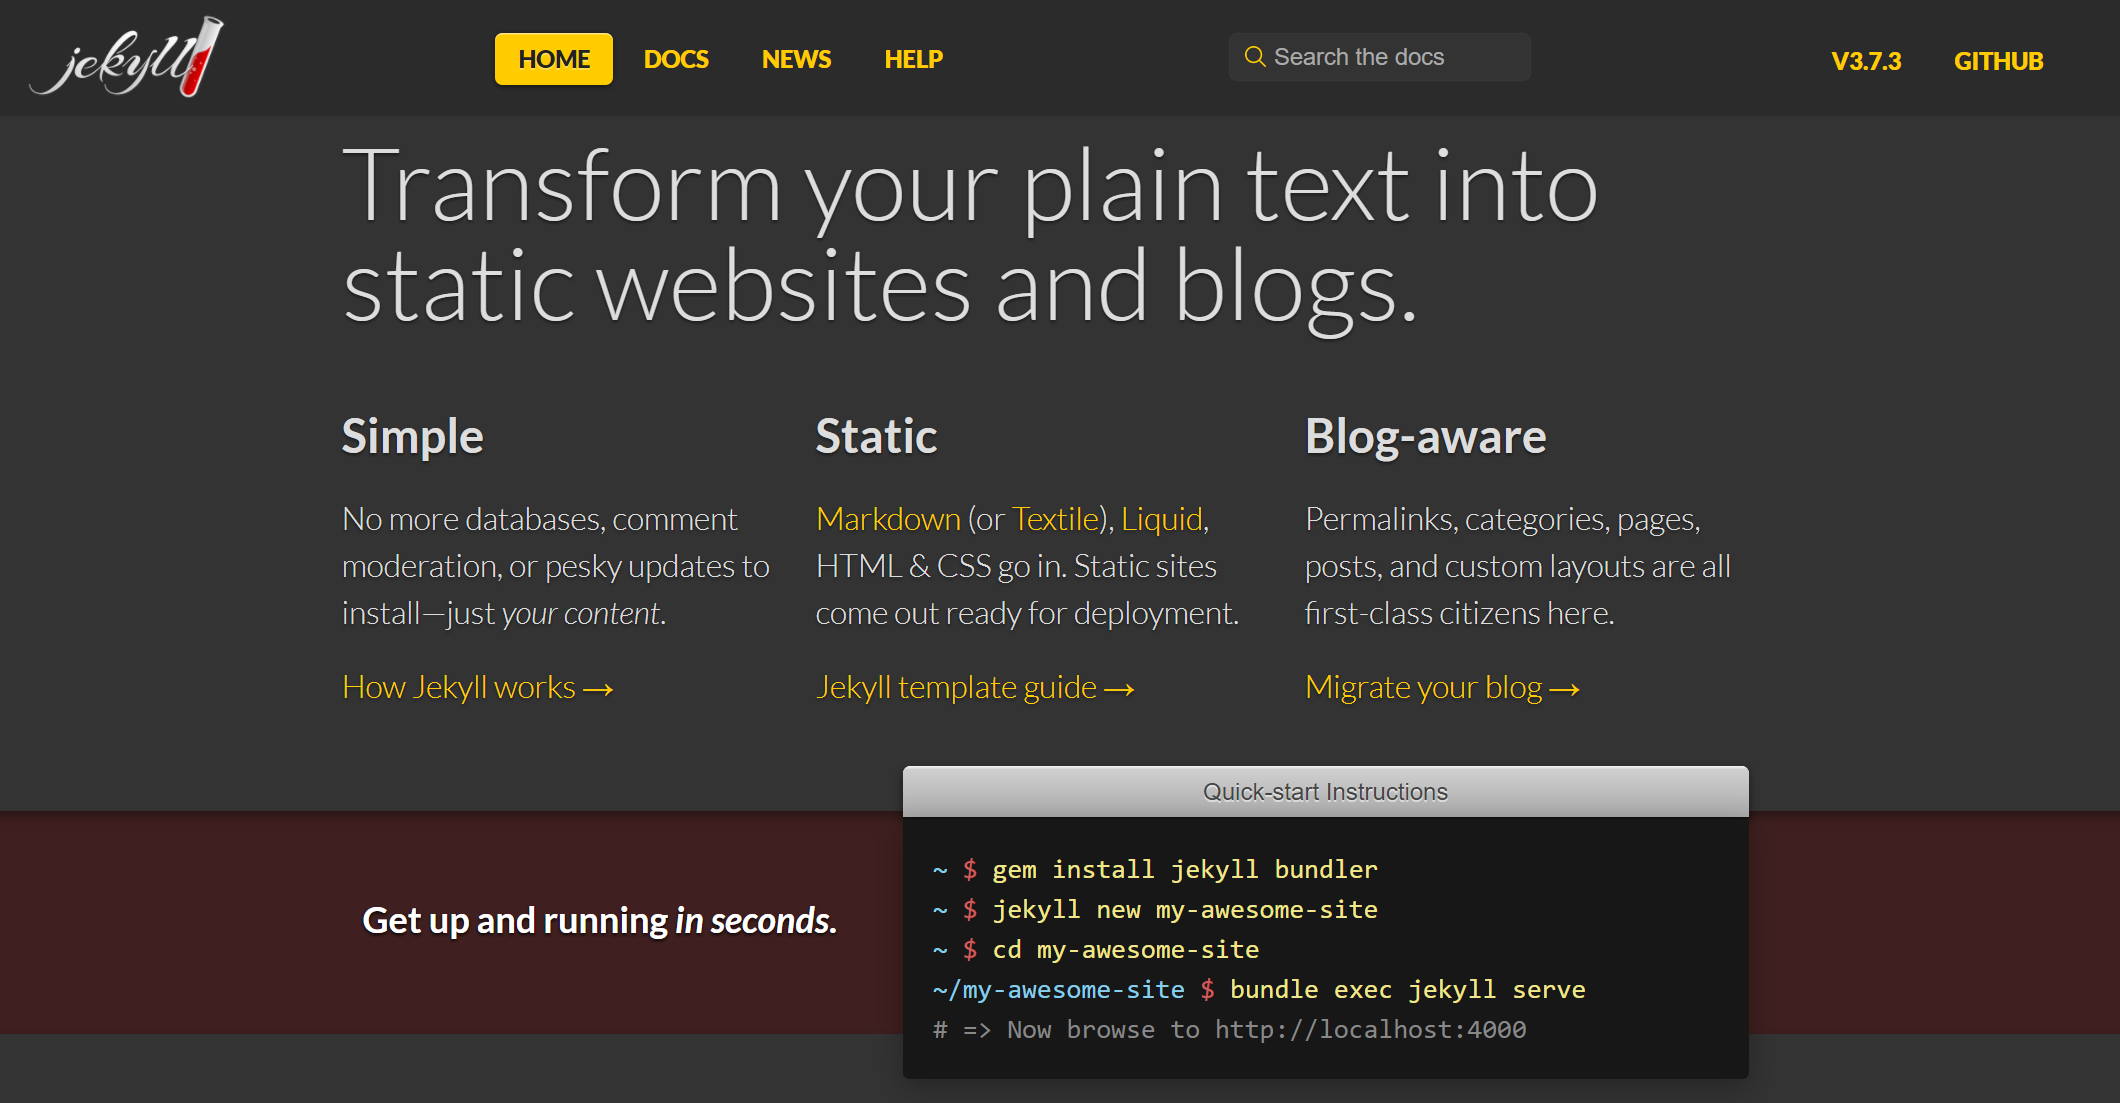
Jekyll's Website
Jekyll is an amazing technology called a 'static site generator', that takes raw text files, and outputs a pretty looking static website! The coolest part about it is that you can write web pages in Markdown, and with Jekyll it will be rendered into HTML.
There are many other generators like this, such as Hugo, but because of GitHub's adaptation of Jekyll, I personally feel that the knowledge of building with Jekyll can be more useful in the long run. If you ever create an awesome project (I know you will!) and need to write a quick site about it to show it off, or even to document it, it can be easily done with GitHub Pages which are built with Jekyll.
Jekyll is built with Ruby; We'll install it in the next couple of steps.
If you are on Windows, you will need to use Jekyll through WSL. If you don't have that configured, do so by following these instructions.
I personally will be using Bash on Windows, but the same can be followed on Ubuntu.
From Jekyll's installtion page, first we start by installing Ruby through the BrightBox repository
sudo apt-add-repository ppa:brightbox/ruby-ng
sudo apt-get update
sudo apt-get install ruby2.3 ruby2.3-dev build-essential dh-autoreconf
Then, update our Ruby Gems and install Jekyll
sudo gem update
sudo gem install jekyll bundler
All done! Check to make sure Jekyll is installed correctly with
jekyll -v
Now let's make our new local site!
We'll create a folder called 'portfolio', or you can name it whatever you like
mkdir portfolio
cd portfolio
Create your blog
jekyll new test-site
Move to your new blog
cd test-site
Now build the site on the preview server
jekyll serve
Your site is live! That is, on your local machine. Go to http://localhost:4000 to see it.
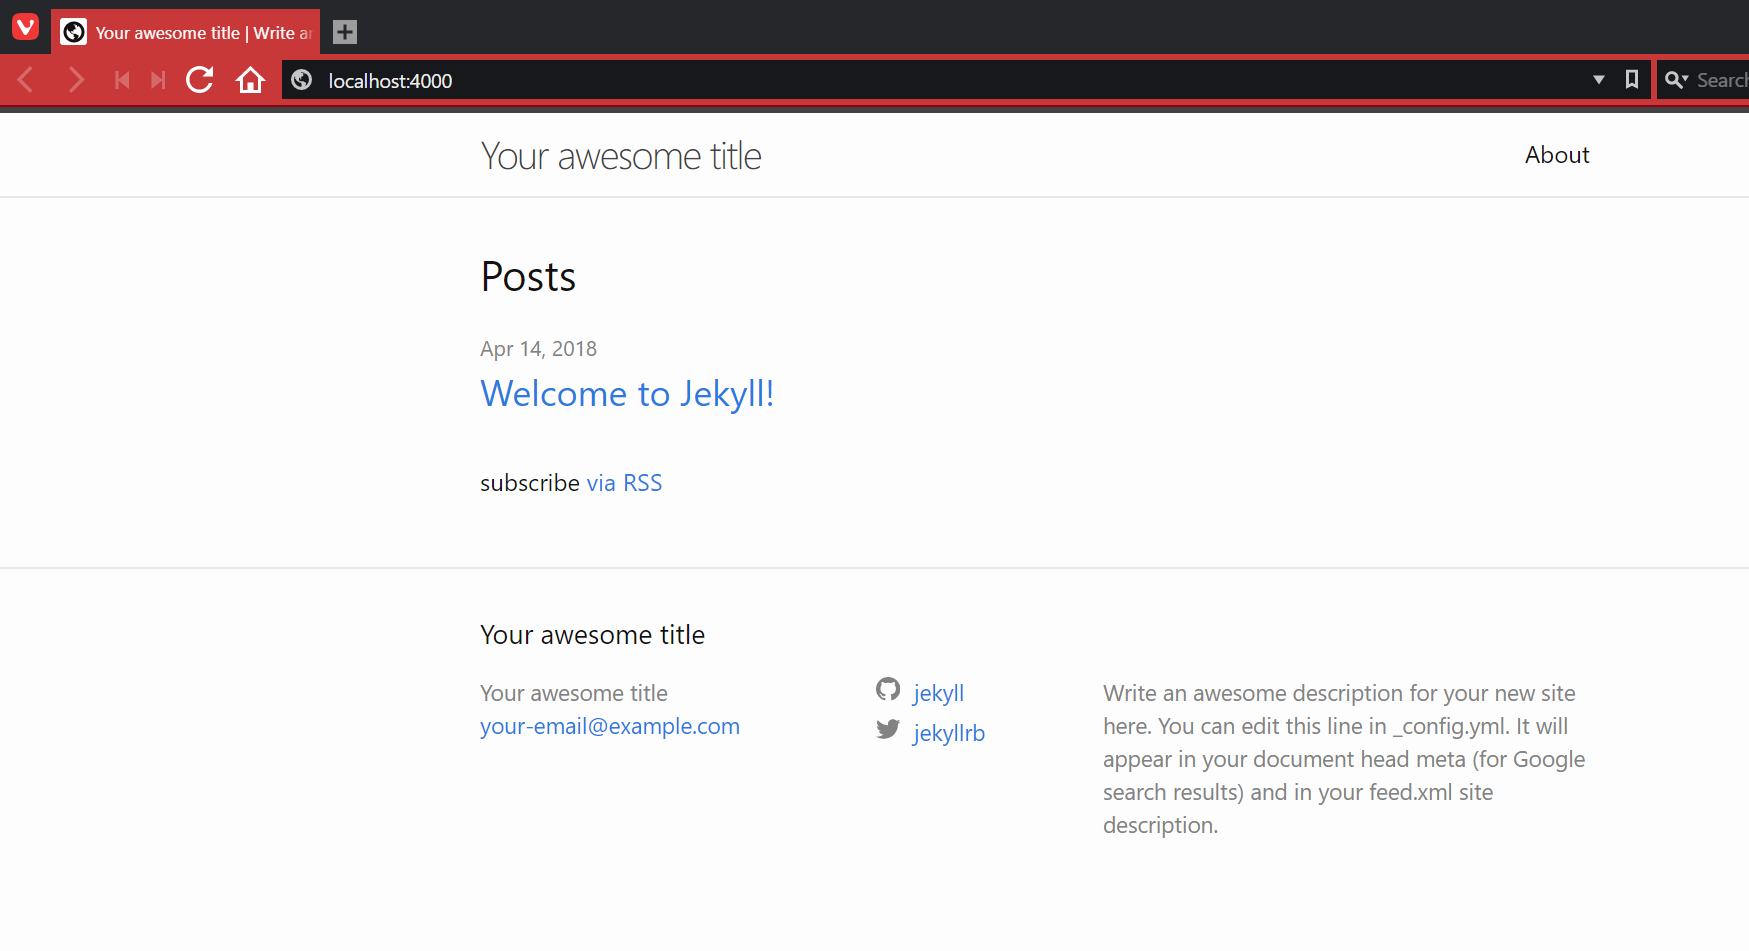
Your Awesome Site!
What's also awesome about Jekyll is that it will rebuild automatically as you build your site localy. Go ahead and try it. Open index.md in your favorite text editor and add something below the --- lines (after line 6). Refresh the page in the browser and it's there!
This website is following the default Jekyll theme titled Minima. It is super easy to pick other themes, but we want to make ours a true developer portfolio. Let's start with a developer landing page. Luckily for us, Dinesh Pandiyan has created a fancy base that we can use, edit, or do anything to our liking!
To start, go to his GitHub Repo containing his developer landing page, and download it as a zip (quick link).
Extract, and put the index.html and the css folder into your test-site directory.
Then delete index.md.
Restart your jekyll serve and your new theme should be up. There's only one problem though, it has his name!
That's an easy fix; just open up index.html with your favorte text editor and put in your information!
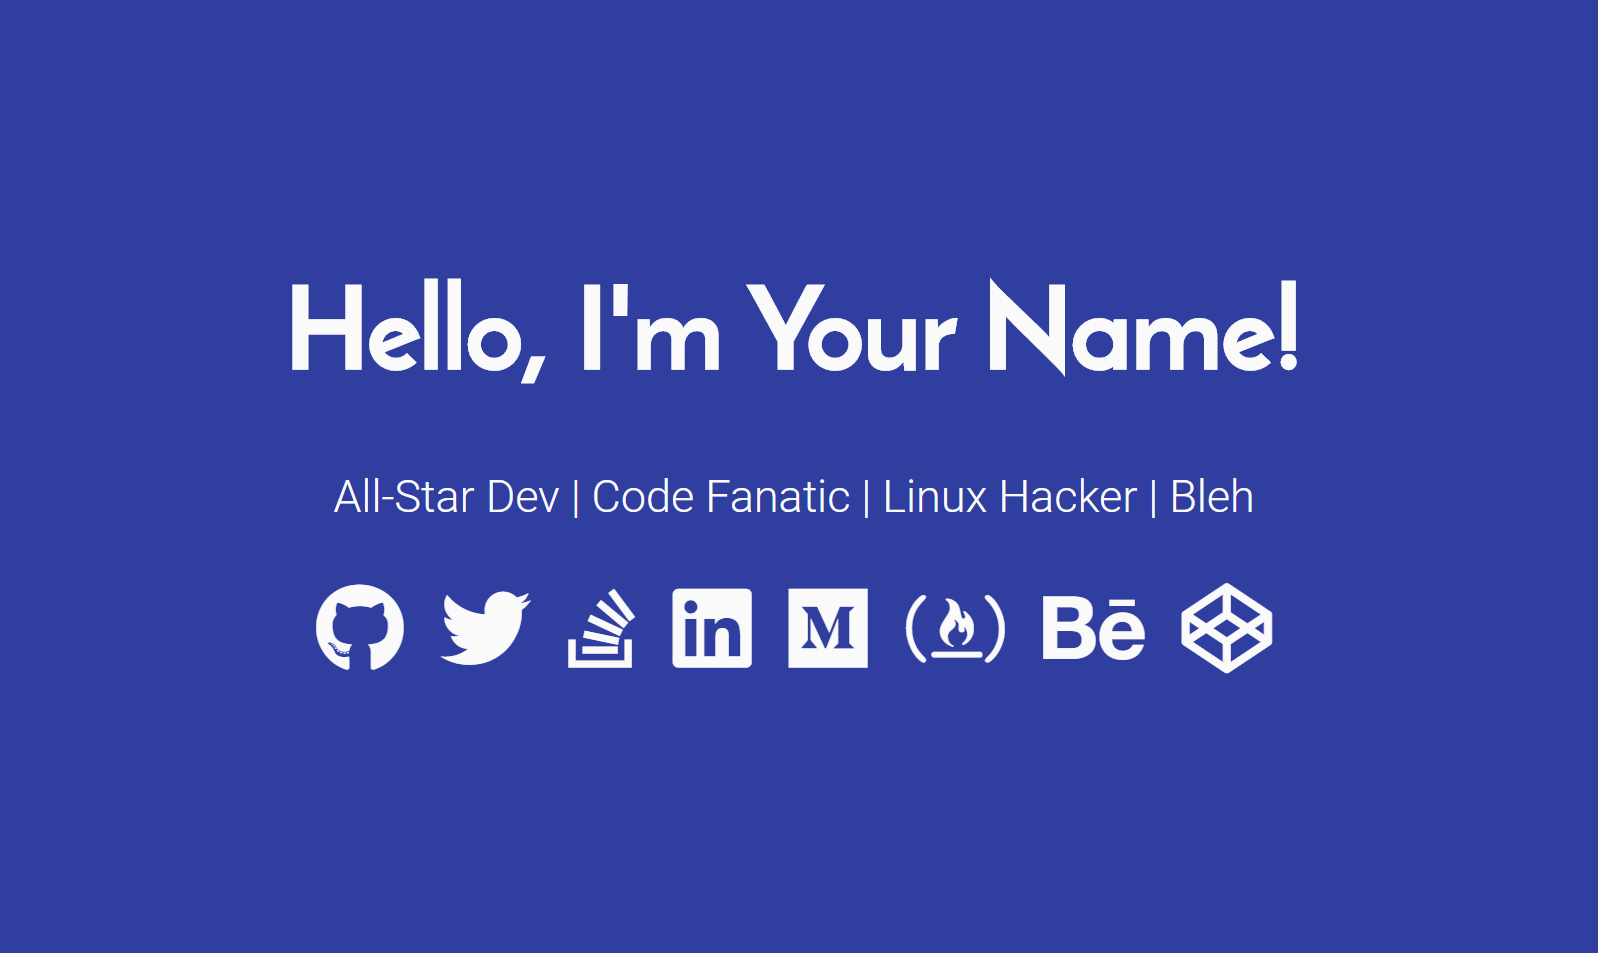
Your newly awesome site!
At this point, you might say "this is cool and all, but what about my projects? where do I show those?"
This guide is to show you how to get a portfolio up and running, but you will still need to create your own portfolio to do so. If you need design inspiration, check out the Awwwards.
Since I'm no designer I utilized a free template from HTML5 UP and edited to my liking. I know you are awesome and will come up with an great design. Go do it!
Deploying your site to Netlify
Now that we have our awesome developer site, let's get it out for the world to see!
There are many ways to do this. In this guide we will use Netlify. I prefer Netlify over GitHub Pages because of the customizability and features including Forms and DNS Zones.
Netlify's Home Page
Go ahead and create an account at Netlify. Verify your email, and login. You should arrive somewhere that looks like this:
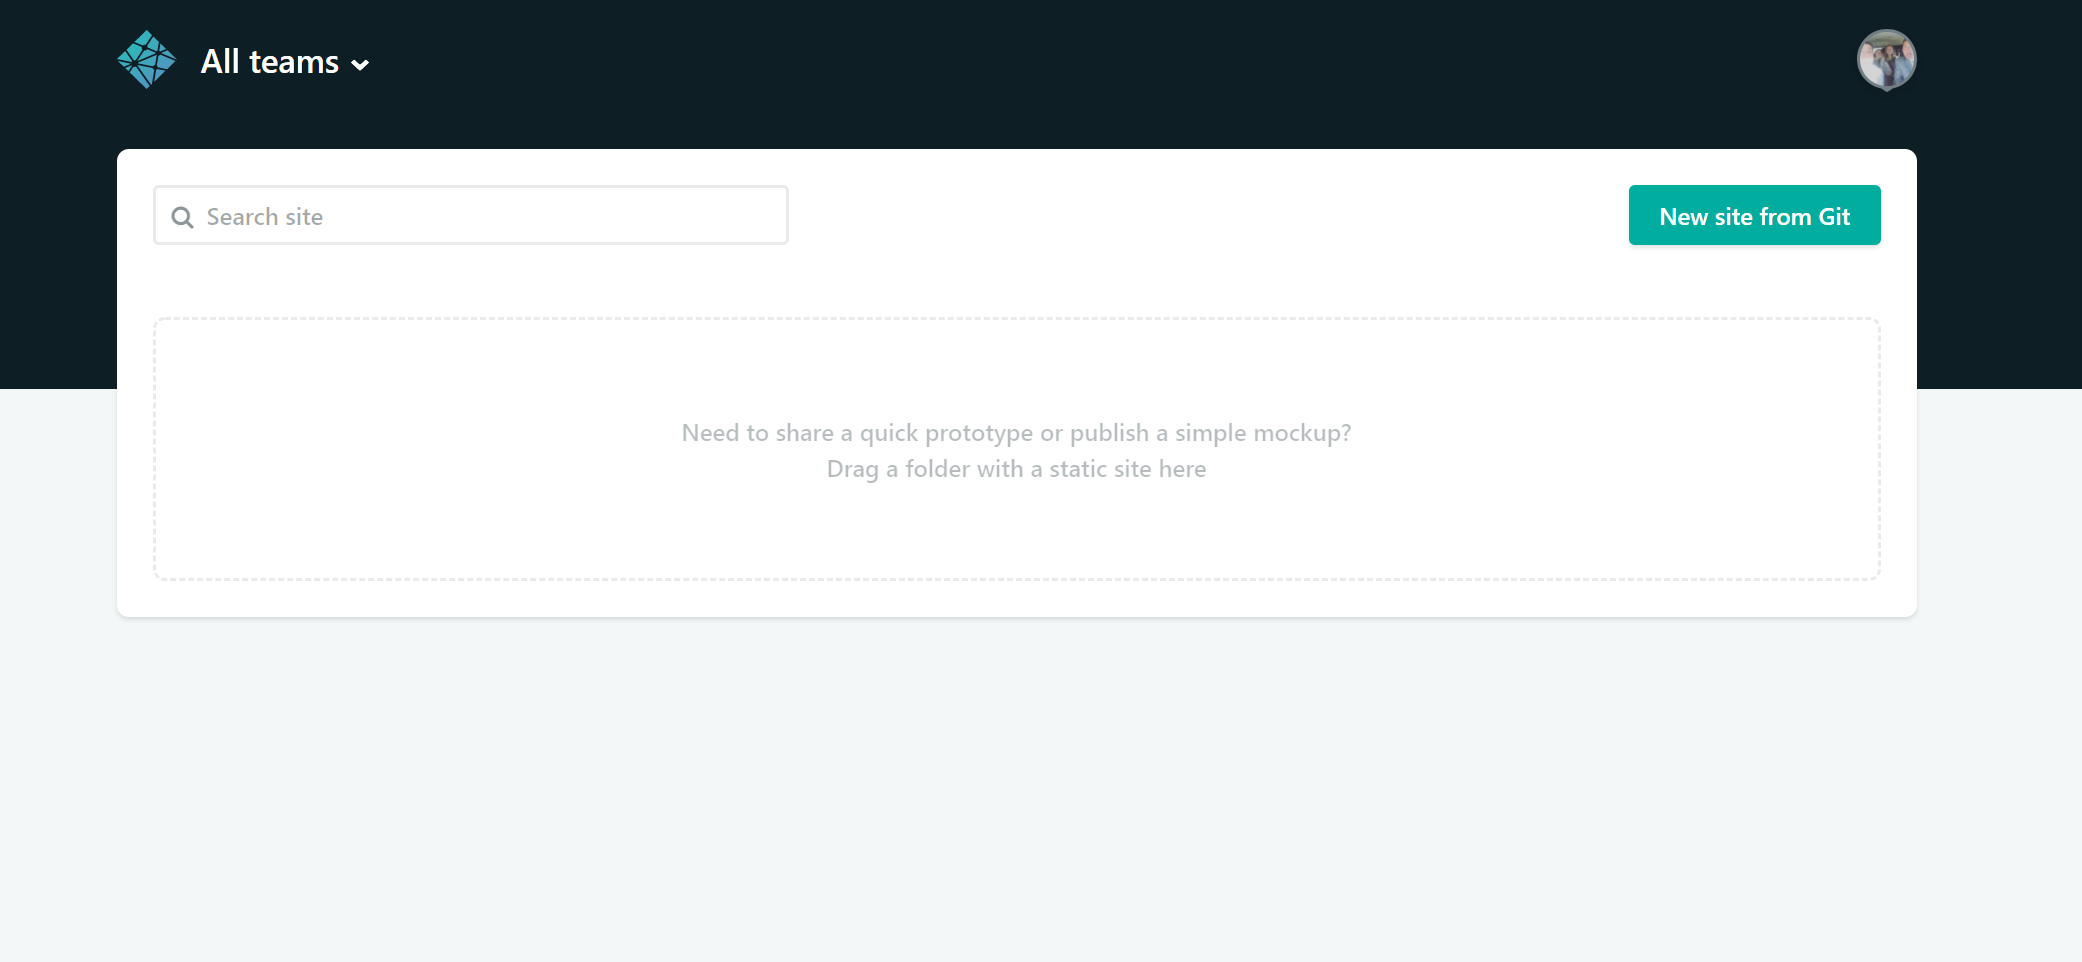
Netlify's App Page
Now watch how slick this is, simple take your folder that your site is in now, as titled earlier test-site, and drag it right into Netlify.
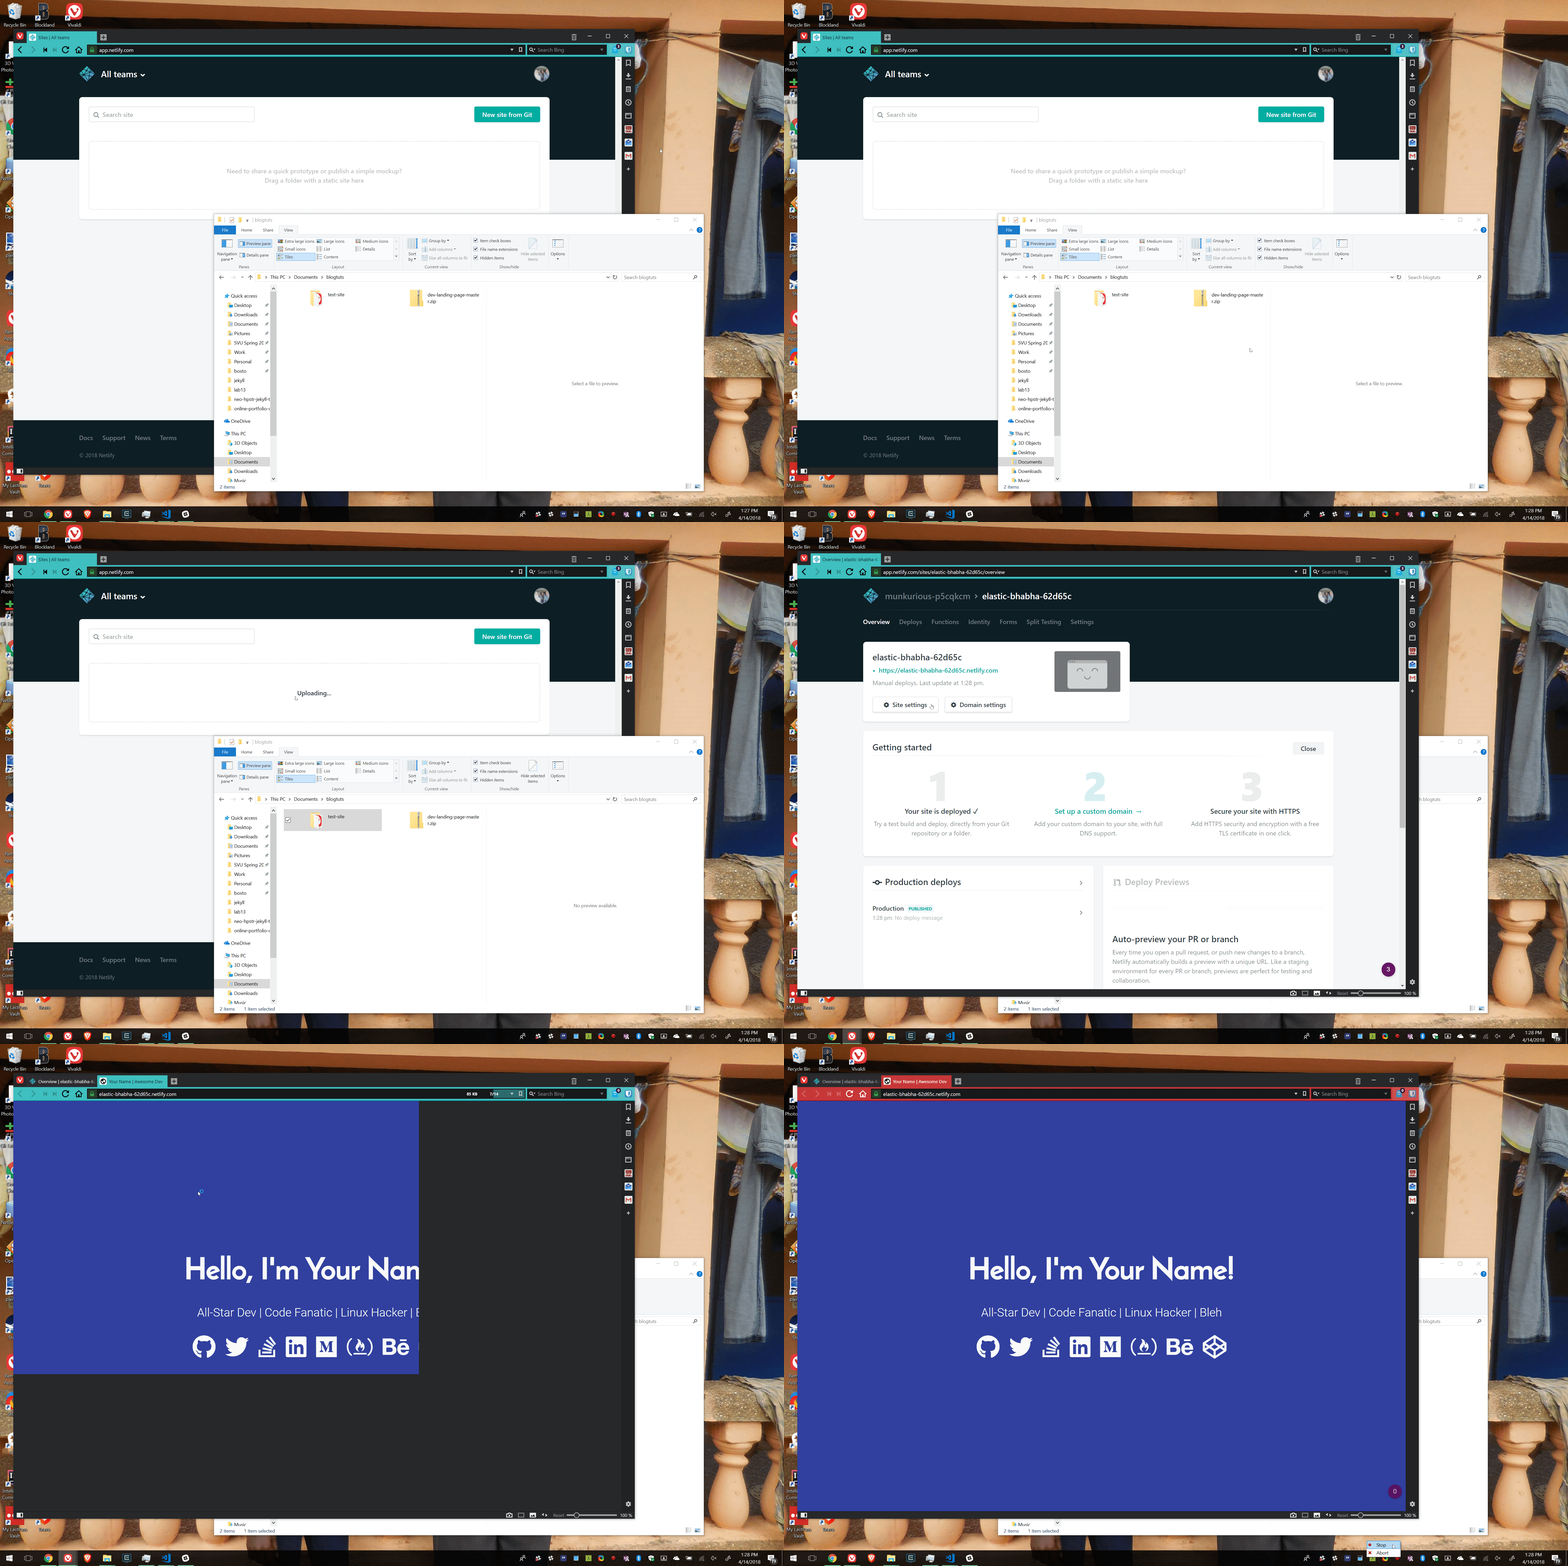
Deploying a Site
Click the link Netlify provided... and your site is live! Wow!
"but... what an ugly domain!"
I know, I know. We will soon fix that, but did you see how easy that was? Quite amazing technology Netlify provides.
Now before we set up a domain, let's redo this process so that we can continuously update it automagically.
Integrating Netlify with GitHub
Let's integrate Netlify with GitHub, and enable continuous integration and continuous deployment. This will enable us to create a repository containing our website on GitHub, and anytime we commit to it, Netlify will build it with the changes and deploy it. All in one push of a button! It's cool.
Go to GitHub and create a new repository. Assuming you've used Git before, simply push your test-site up to your new GitHub repository.
Now that your site is on GitHub, go back to your dashboard on Netlify and click New Site from Git. Follow the instructions and deploy your site!
You're set up! Anytime you make changes to your website and commit them up to GitHub, Netlify will automatically rebuild your site and deploy it! Cool!
Your Own Domain
Binding a domain to Netlify is super easy. Within your new site, simply click Add Custom Domain and follow the instructions. There isn't much more to it! Netlify will also do all the heavy lifting for you in getting a SSL Certificate, just in the click of a button.
If you don't have a domain, you'll have to go find one. Luckily if you are a student, you are eligible for the GitHub Student Pack. As part of that pack, you are given a free year registration of a .me domain through Namecheap! Awesome! Go ahead and set that up with Namecheap, then follow the instructions through Netlify.
Reap the Benefits
Now that your portfolio is out there, show it off! Build awesome projects, add them to it, and share them with others. You know that you are awesome, I know that you're awesome, let's just get everybody to know!
I hope this guide helps you in your efforts to create a portfolio. If you have any questions, feel free to contact me or leave a comment!
Thanks for reading!